Your Cart is Empty
*** Free domestic Shipping orders over $25!!! ***
Whether you're applying Cerakote, DuraCoat, or any other coating, underspray is one of the most frustrating challenges a stencil user can face. That unwanted spray creeping underneath your stencil can ruin an otherwise perfect finish. The good news? With a few simple techniques and the right approach, you can eliminate underspray almost entirely.
Underspray is the undesirable spray that finds its way underneath stencils and into areas where it isn't supposed to go. It typically happens when a stencil isn't making full contact with the surface - especially on curved, contoured, or irregular shapes like rifle stocks, pistol grips, or helmets.
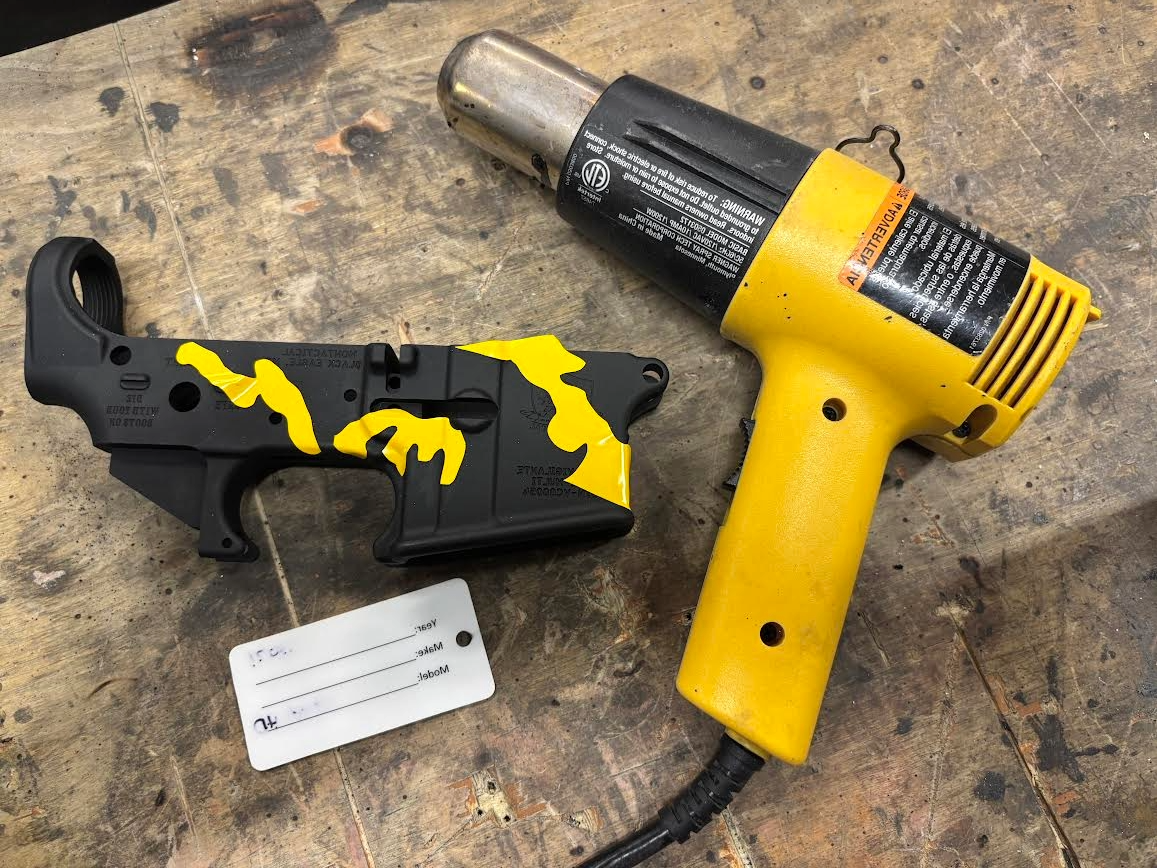
One of the most effective tricks is using a hair dryer or heat gun on a low setting to warm up your adhesive stencil after applying it. The gentle heat loosens the vinyl, making it significantly more pliable and allowing you to press it firmly into tight contours and irregular surfaces.
⚠️ Important: Use low heat and work carefully - heat guns work faster than you expect!

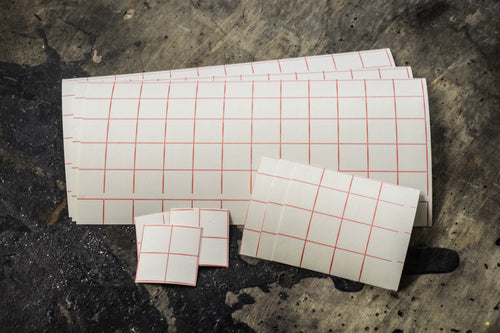
Once your stencil is warmed and pliable, use a firm flat tool to press it tightly against the surface. Some of our favorites:
Work from the center outward, pushing air bubbles and gaps toward the edges. Pay extra attention to raised edges, curves, and recessed areas where lifting is most likely.

Even a perfectly applied stencil can suffer underspray from improper spray technique:
Between coats, allow each layer to tack up slightly before applying the next. Wet paint on wet paint increases the chance of seeping under stencil edges.
Clean, crisp lines every single time. With a little patience and these simple techniques, your stencil work will look professional regardless of the surface complexity.

Have a tip that works for you? We'd love to hear it - Leave a comment below and share your technique with the Freedom Stencils community!