Your Cart is Empty
*** Free domestic Shipping orders over $25!!! ***


$30.00
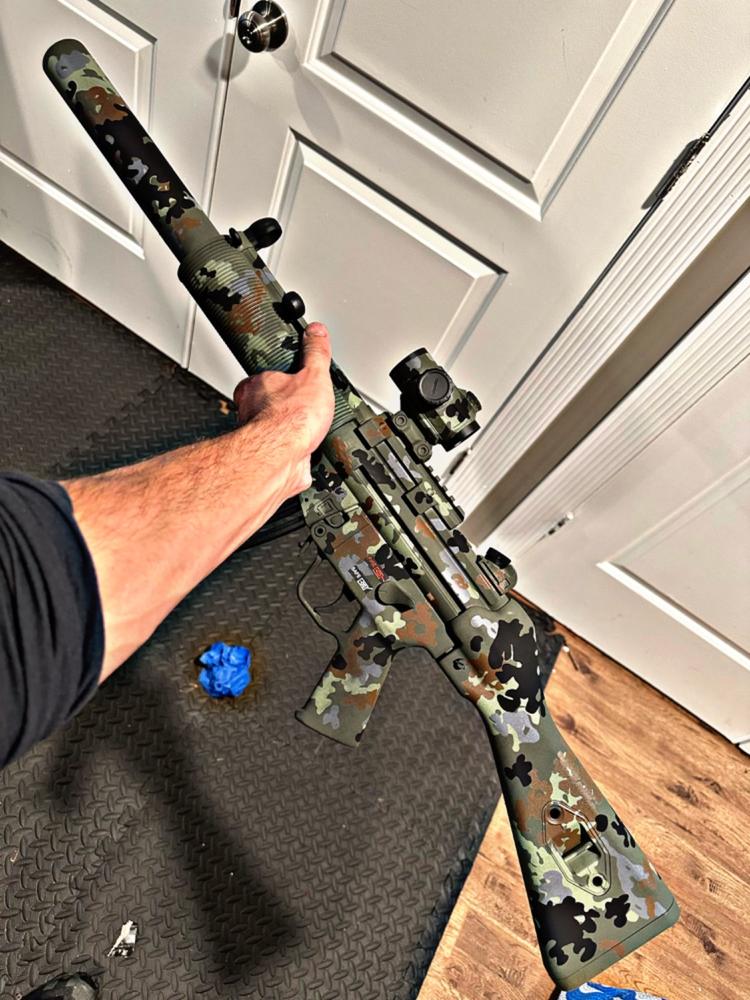
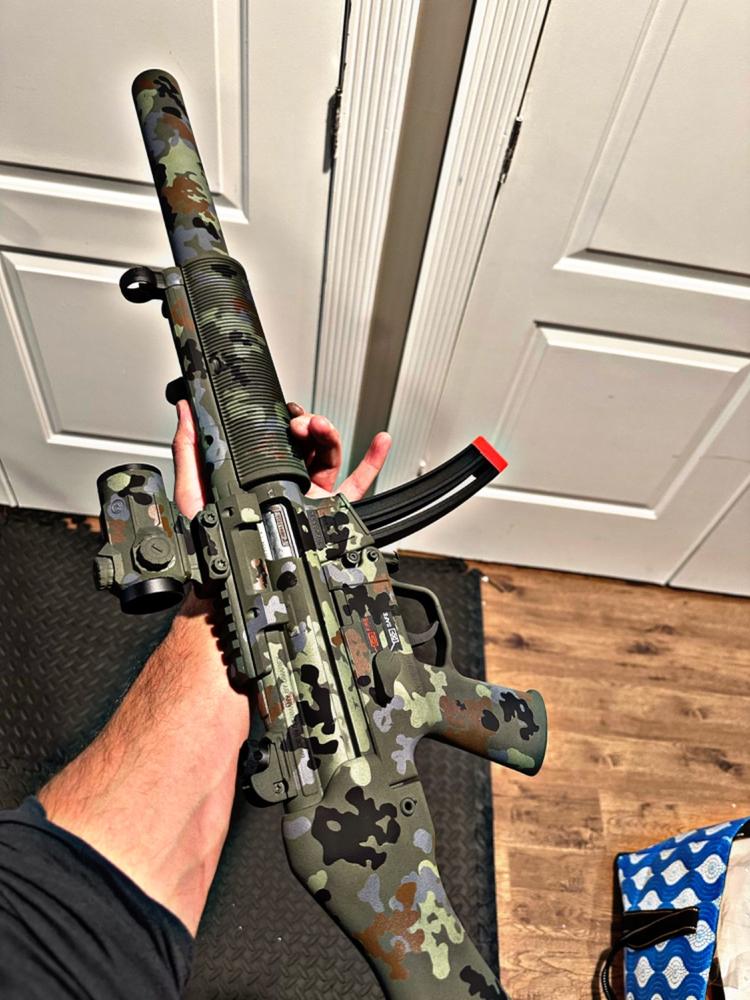
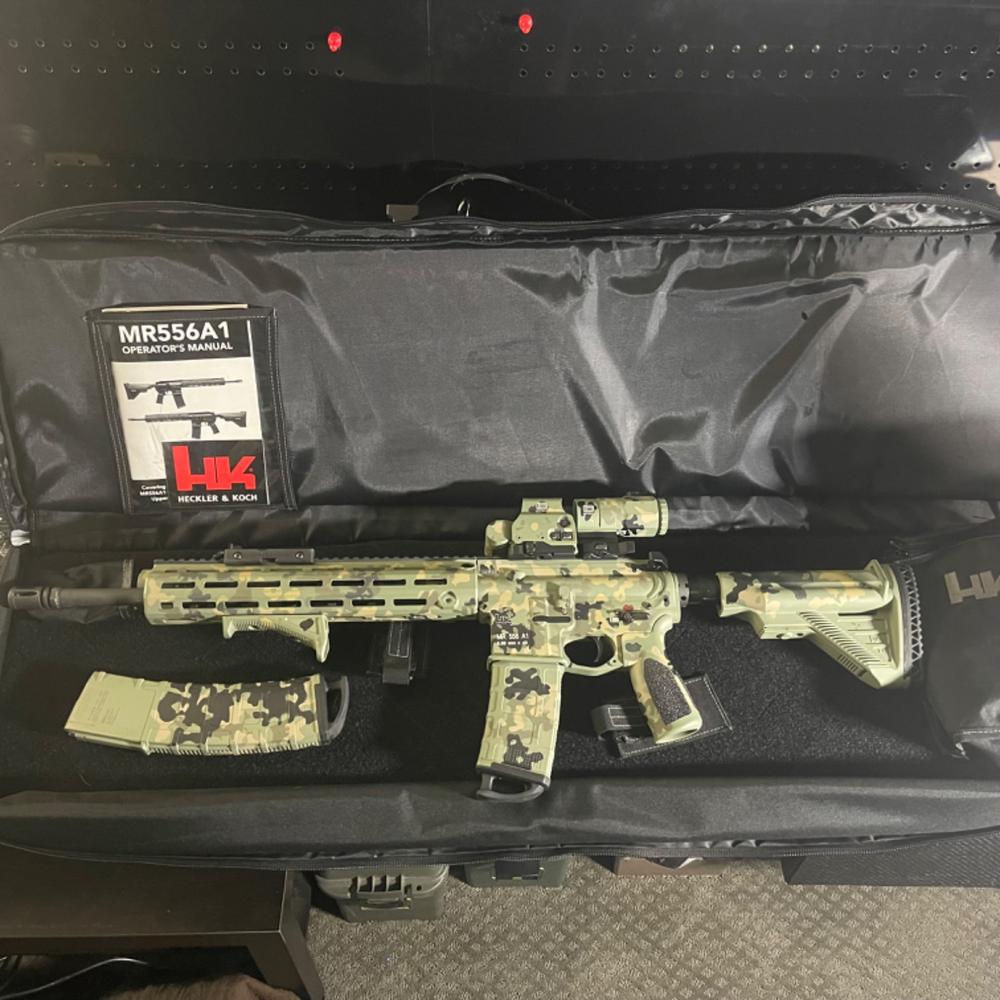
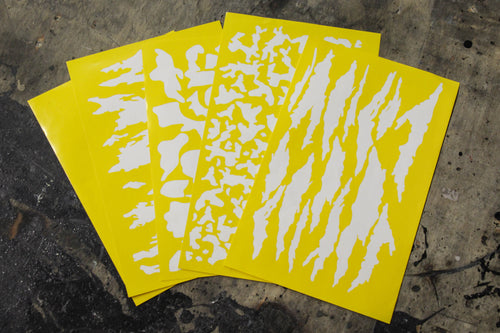
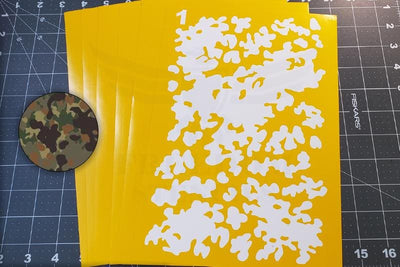
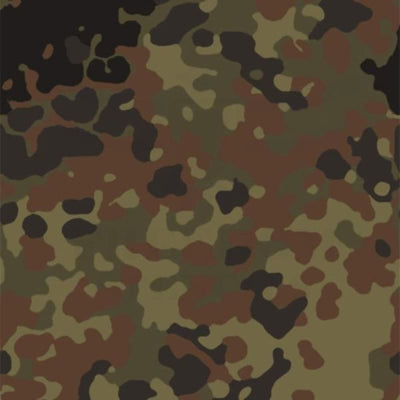
Flecktarn Camouflage, also known as Fleckentarn, is a disruptive camouflage coming in 3, 4, 5, and 6 color variants. The development of Flecktarn dates back to Germany in WWII, however the modern configuration wasn't widely introduced until 1990 when Germany was re-united after the fall of the Berlin Wall. Today, many variations of the pattern are used by military's around the world.
Working with contoured surfaces? Learn how to get perfect results every time with our guide: Controlling Underspray
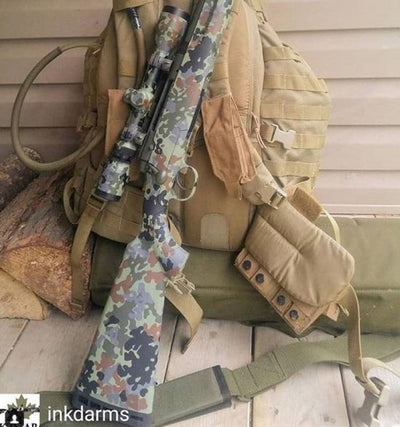
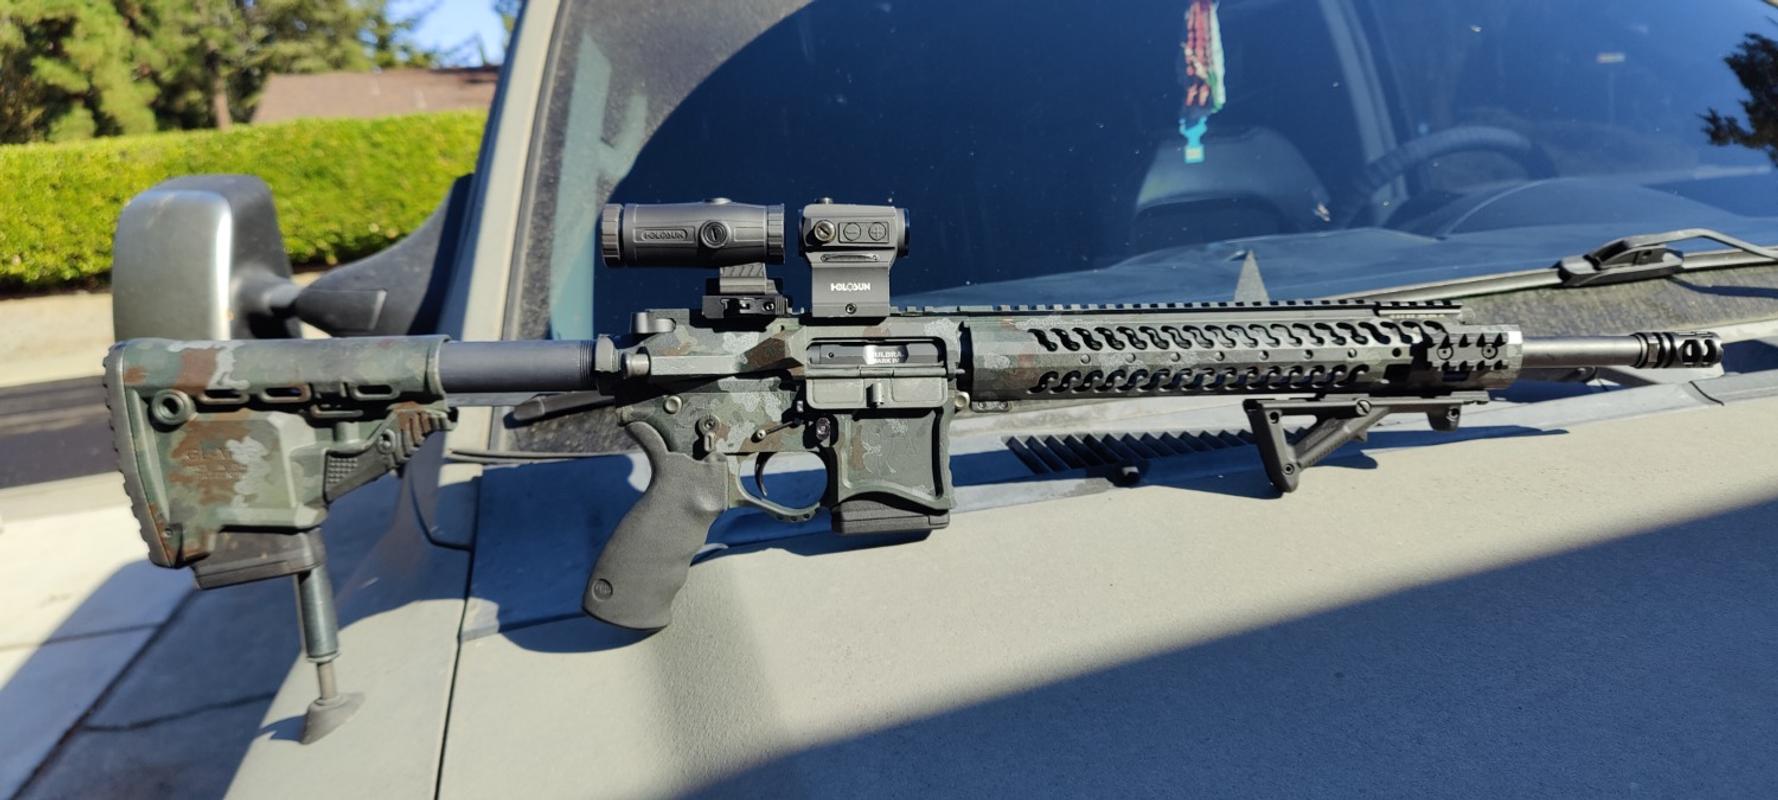
Excellent stencils, low tack enough not to pull off the layer below, even though the Rust-Oleum color below wasn't cured more than 15 min in 65 f temps, sprayed 5 different colors on this pattern in dark gray, black,OD green and dark forest green and dark brown, using the same 15 min interval between finishing spraying the color, and applying the next layer of stencils. Final layer was misted on in light stripes to give it the gradient look that multicam has. I call it black forest camo. Pulled all the stencils off after 1.5 hrs of drying on the final layer, the paint was still soft and scratched occasionally when picking up the edge of the stencil with an exacto knife, but the stencil didn't pull up the paint, has the perfect amount of tack to give you crisp edges but not pull up paint. This is the fifth gun I did with freedom stencils camo patterns, and they all are excellent. I'm not worried about durability of krylon in the application style I do, because I like that GWOT worn look in key spots and it will wear naturally. But I would recommend freedom stencils to anyone. Videos helped with how to apply.
Awesome product as expected coming from freedom stencils. I will continue to purchase from them
Please fill out the following form to submit your withdrawal request.